Have you seen this picture floating around on Pinterest???
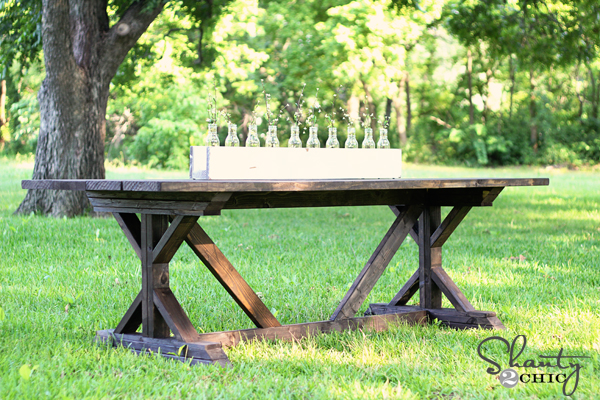
So have I! And I fell in love with it!!! So I convinced my husband to build me one! The pictures are from Shanty 2 Chic & the full designs to build your own table can be found at Ana White.
We downloaded the design, and also made a similar design based off of the table to have a bench (which is not almost done like the table). The wood has been measured and cut for the bench and the building will be started once the table is complete and out of the garage/workshop so we have the space for it.
For now, I am just LOVING this table! I am so excited about it that I wanted to share pictures of it with you even though it isn't done.. Is that annoying? Hopefully not!
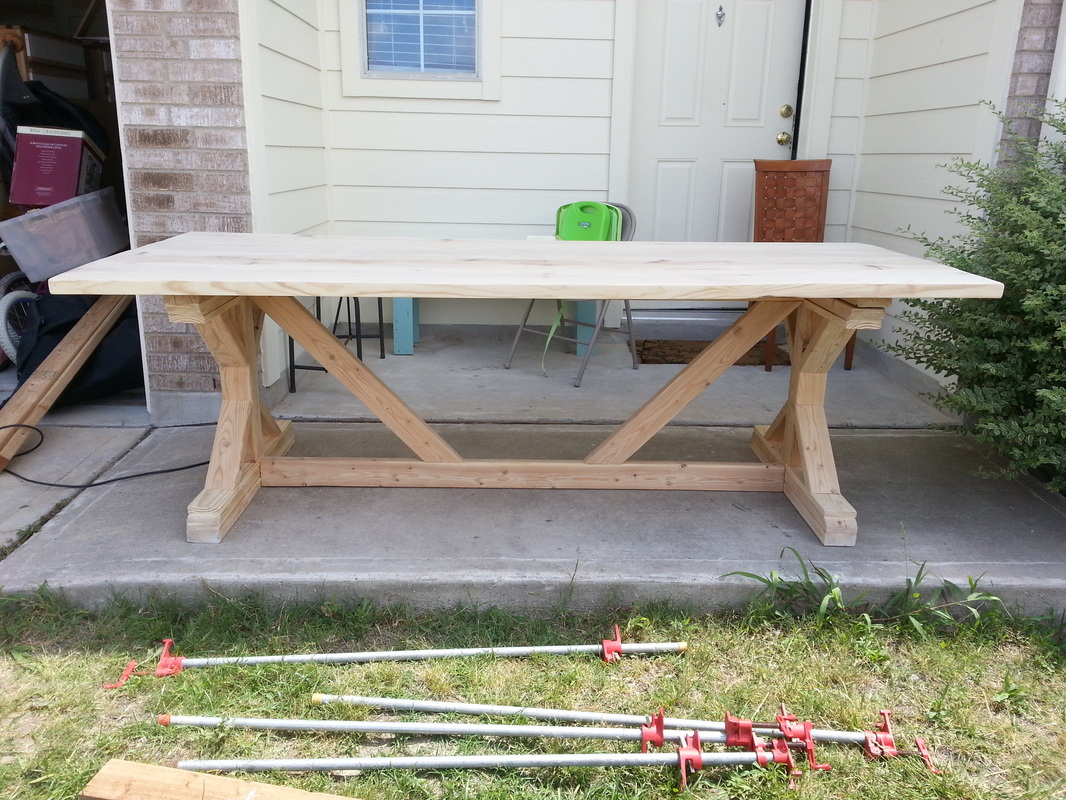
This is just after finishing the building process but before any staining has taken place, obviously. I wanted proof that it was not just old wood. :)
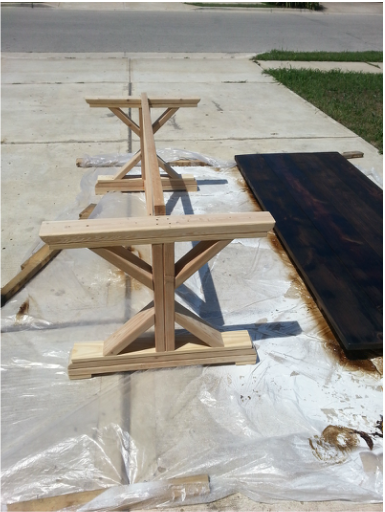
This one is to show the difference between the naked wood and the stained wood after one coat.
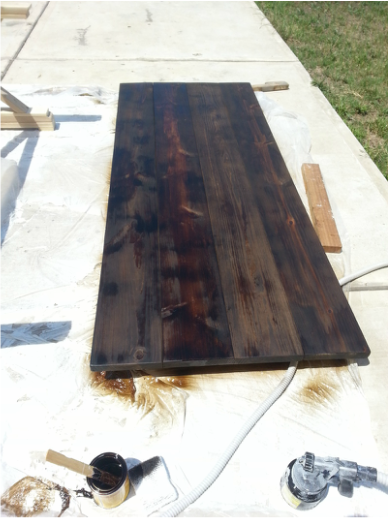
This is with one coat of stain.
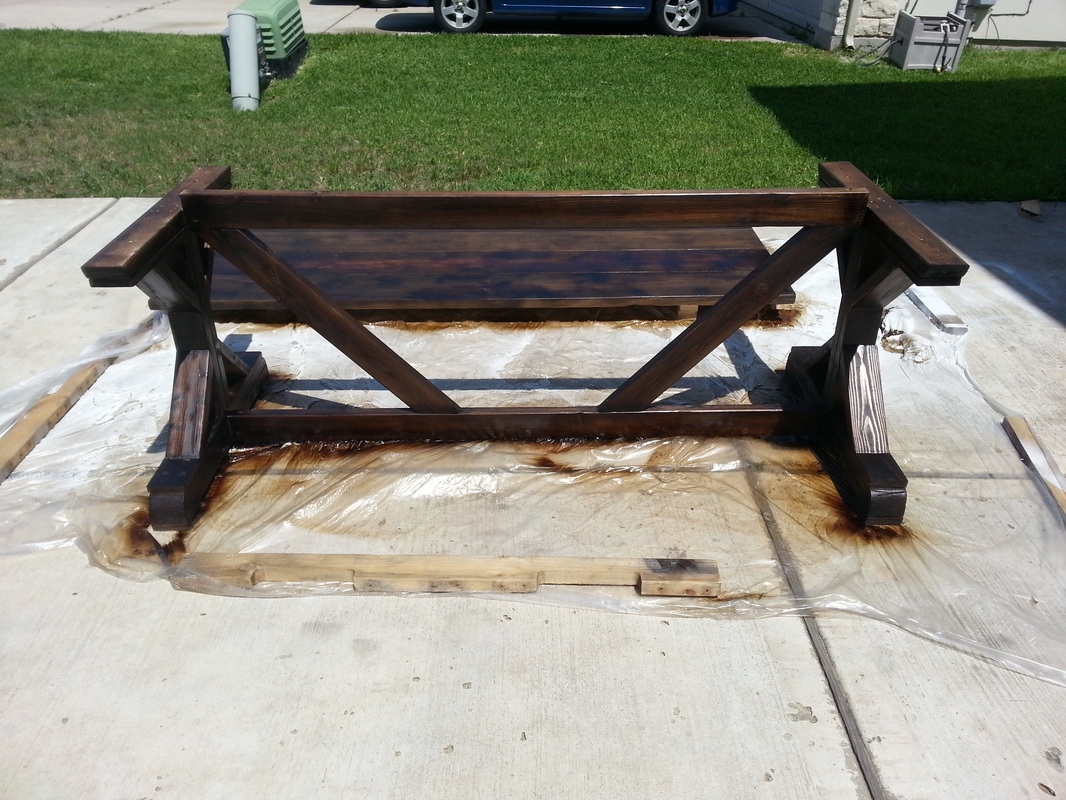
And now the base of the table has been stained. You can see a big mess around the whole table - That is because we have a paint sprayer and chose to use that to make this a 30 minute job instead of a 3-hour job. The hubs loved the ease of this project!
I will post more pictures when it is done, which should be by the end of this week. All we need to do now is put the 3 coats of polyurethane on it since we have done the second coat of stain and then allow for drying in between. Then it will be brought inside, set up and ready for use!
I will post more pictures when it is done, which should be by the end of this week. All we need to do now is put the 3 coats of polyurethane on it since we have done the second coat of stain and then allow for drying in between. Then it will be brought inside, set up and ready for use!

 RSS Feed