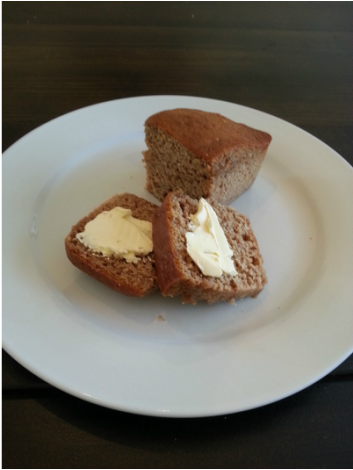
My mom has a small vegetable garden at her home and gave me three large zucchinis to use. In return, I told her I would make some bread with it and share it back. This is what came of that venture...
|
|
|
My mom has a small vegetable garden at her home and gave me three large zucchinis to use. In return, I told her I would make some bread with it and share it back. This is what came of that venture...
0 Comments
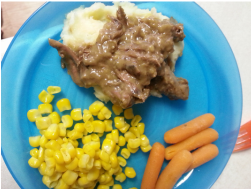 Not your typical roast beef! Gather up the following:
1 (2 lb) boneless chuck roast 5 pepperocini peppers 1 package Au Jus gravy 1 package ranch dressing mix 1 stick of butter  Ever get a hankering for Mexican food but you are either too broke or just don't have the ability to obtain said Mexican food? I get these cravings frequently and I finally found a cure! Step 1. Gather your seasonings (crushed red pepper, season-it-all, garlic powder, sea salt, black pepper, and minced onion). Measure out roughly 1/8 teaspoon of each (to taste - remember... I like mine with a kick!) and mix in a small dish. Set aside.
As promised, I am posting our personal choice for our gift to Dad this year. Overall, it was a huge success! The kids had a lot of fun painting the letters, picking out the spot for pictures, posing, selecting pictures for use, and then picking out a sentimental phrase for the spot on the left. I know there is a bit of a glare, so I will caption it for you... 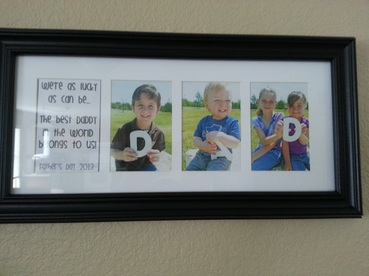
The phrase reads "We're as lucky as can be... The best Daddy in the world belongs to us!"
I hope all of the dads out there have a great Father's Day today! Spend some time with your family and enjoy the chances you have to make memories while they are here.
~Jen 
Here is a collection of ideas for you to use to make your own "DIY" gift for that special dad in your life, whether it be a sweet treat, handy tool, or sentimental note. Browse below for your choices and pictures of examples. If you see one you would like more info on, click on the pink name, which is a link to the original link. There you will find a full set of instructions on how to make it. 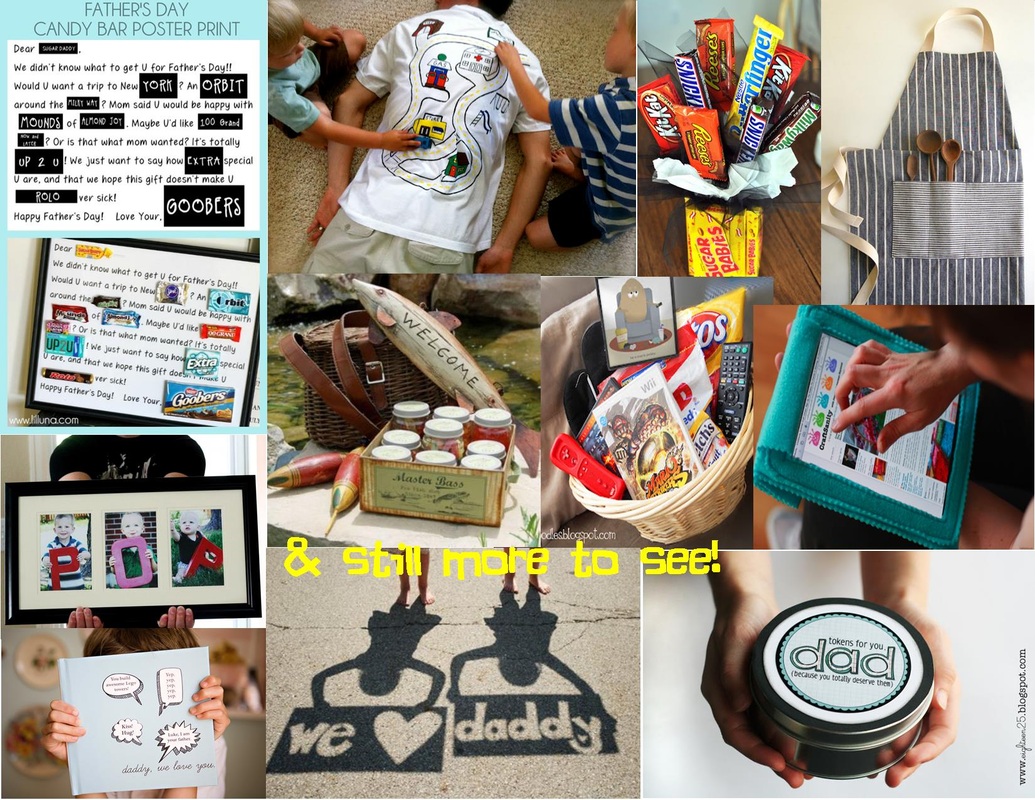
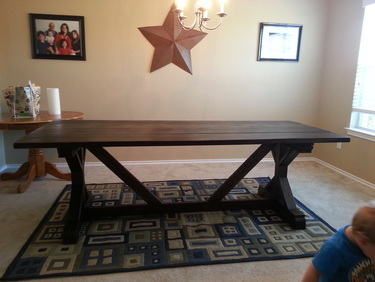
This is now in our dining room! We have not started on the bench, yet or the chairs as we took on another project for a client/friend and that will be worked on first. Once I have the rest of it done, I will post more pictures. But here is our completely hand-built & gorgeous farmhouse style table! 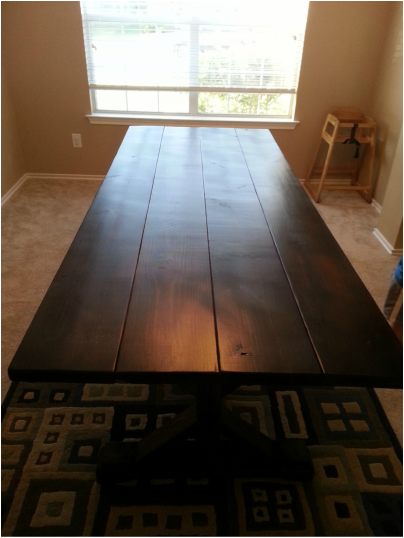
 So in case you haven't been able to figure this out about me, yet... I am all about finding an easy way to do things. I love to cook and all, but lately I have had so much on my plate that I just haven't really had the time to do so. Today was one of those days. I was able to think ahead enough to thaw out some chicken, though and just knew I would need to figure out something to do with it later while Little Man was napping...
So once he was down for a good while, I pulled the 2 pounds of thawed chicken out and cubed it up into rough, bite-sized pieces. I knew I wanted to use the crock pot for today so I wouldn't have to fuss with it during the busy afternoon. So I started searching the cabinets. That's when I remembered all of those recipes I had seen on Pinterest that went something like "Chicken Cheese & Rice Casserole" done in a crock pot... so I thought I should be able to figure something out with my knowledge in the kitchen, right? I pulled out the following ingredients: Have you seen this picture floating around on Pinterest??? 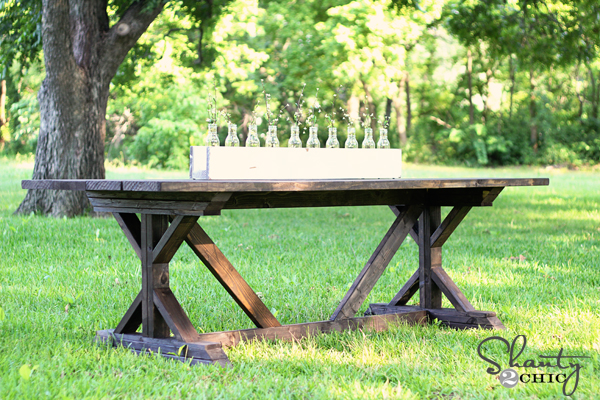
So have I! And I fell in love with it!!! So I convinced my husband to build me one! The pictures are from Shanty 2 Chic & the full designs to build your own table can be found at Ana White.
We downloaded the design, and also made a similar design based off of the table to have a bench (which is not almost done like the table). The wood has been measured and cut for the bench and the building will be started once the table is complete and out of the garage/workshop so we have the space for it. For now, I am just LOVING this table! I am so excited about it that I wanted to share pictures of it with you even though it isn't done.. Is that annoying? Hopefully not! 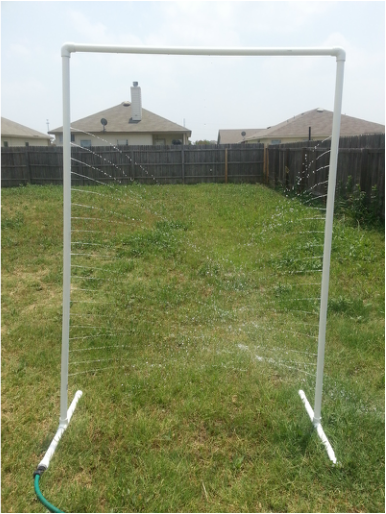
We designed this project for the kids to run through at our Memorial Day party this past Sunday and then to keep using through the summer since we live in Texas and it can get oppressive... Because of this, we also made it big enough for us adults to enjoy as well.. ha! To build this run-through, you will need: (2) 1-in. x 10-ft. PVC poles ($2.37 each at Lowe's) (3) 1-in. end caps ($1.10 each at Lowe's) (2) 1-in. 90 degree PVC tees ($0.74 each at Lowe's) (2) 1-in. 90 degree PVC elbows ($0.59 each at Lowe's) (1) threaded adapter - to attach hose to PVC ($1.60 at Lowe's) (1) hose with 2 "female" ends 4 oz. can PVC primer ($3.97 at Lowe's) 4 oz. can PVC cement ($3.98 at Lowe's) (With the primer & cement, you will NOT need all of the 4 oz. cans, this is just the smallest of each I could find. Realistically, you could get away with 1-2 oz total each.) Total Spent: $17.62 after 8.25% tax (including 1/2 of each can) Now for the steps... You ready? Step 1: Measure your cuts! Mark one of the 10-foot poles into two pieces (1 at 4 feet long and the other at 6 feet long). Mark the other 10-foot pole into three pieces (1 at 6 feet long and the other 2 each at 2 feet long). Step 2: Cut at the measured marks using a hand saw or something similar. Step 3: Drill holes (using a 3/32" or 7/64" drill bit) about every 7-8 inches along each of the 6-foot-long poles & the 4-foot-long pole. Step 4: Sand all cuts and drilled holes to smooth out any roughness. Step 5: Prime & glue joints according to the manufacturer's instructions. I am including a super high-tech DIY guide to show you where each piece goes in case you might be confused by all of it. I hope it helps. This really is a simple project... :) Step 6: Allow for drying before use. Apply sunscreen, connect hose, and run through! 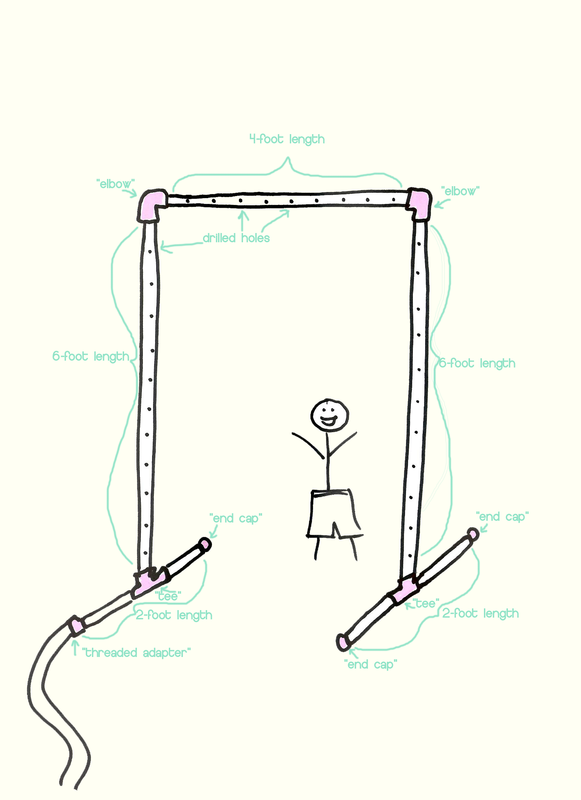
| 
AuthorJen is a mom of four awesome littles who enjoys reading, blogging, being creative, and baking. ArchivesSeptember 2014 CategoriesAll check this out!Jessica is one of my new neighbors and she is so much like me it is crazy! She is great at sharing her thrifty tips and tricks! I linked her blog so you can check it out Show her some love. :)
|

 RSS Feed